

Many of us have probably encountered the circumstance when a client or coworker requests that non-formatted data be converted to Netsuite CSV import templates.
These data sets can come from various sources such as .pdf files, websites (HTML) and other formats.
You may have shaken your head in dismay up to this point, unwilling to deal with the complexities of data import types. But don’t worry; I’ve described some pretty simple steps to format the data so that importing the CSV file into NetSuite is a breeze!
I used Notepad++ and Microsoft Excel to complete the task.
Here we go…
14 steps for NetSuite CSV Import Process
1. Save the source file as a text (.txt) file
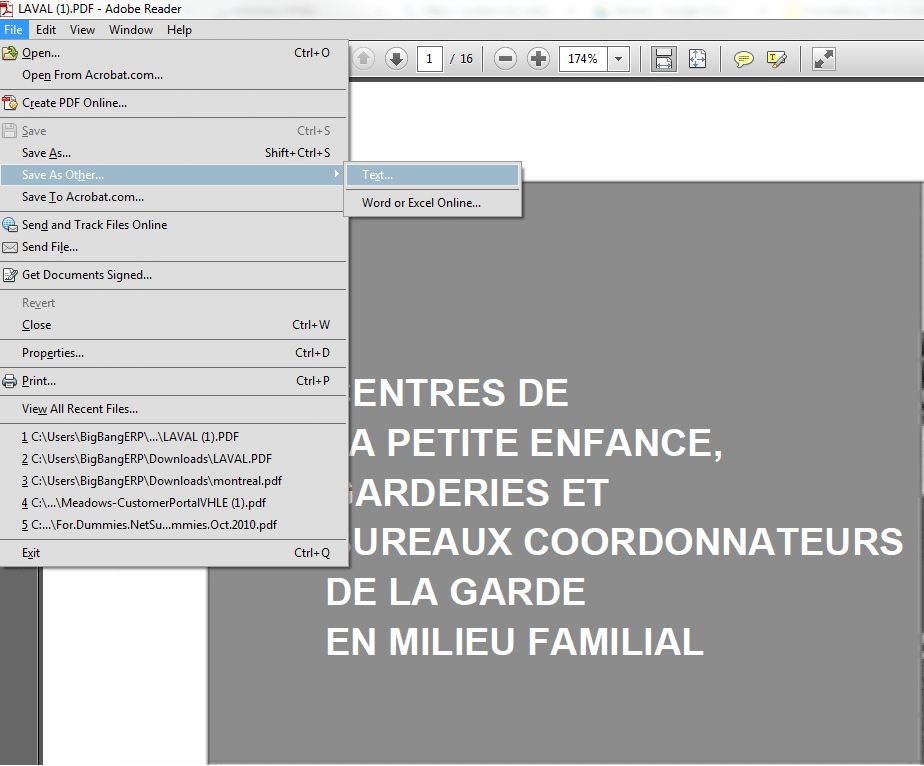
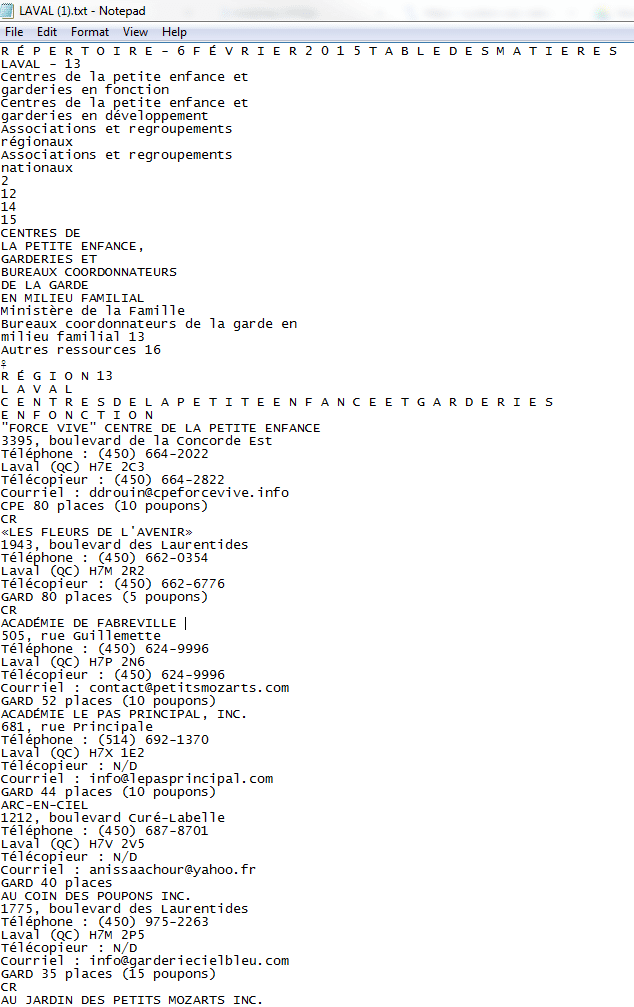
2. Open the file with Notepad++
3. Remove the cover page information as that information is not needed
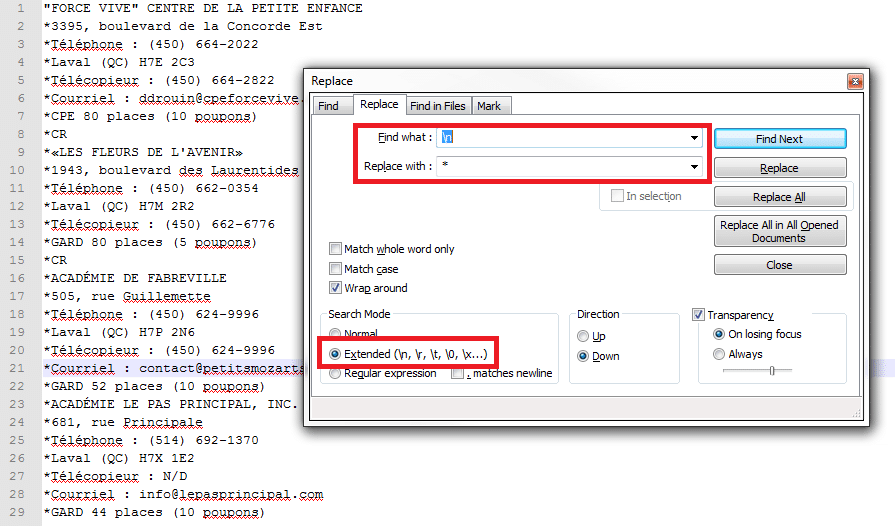
4. Choose a CSV delimiter
Make sure your character is not present anywhere in the document and choose a character that is easy to see, for example: *, %, @, &
5. Field mapping
- Company Name
- Address
- Phone
- City
- Fax
- Comment
- n stands for a new line
- We will add or update our delimiter at every new line
6. Remove “Return/Enter” key entries
- r stands for the Enter key on the keyboard
- Replace all the r by “blank” to determine when to break in the next step

7. Break lines
- Most entries end after the CR. This will be our breakpoint in this case.
- The result is the same as if you find all the CR in the file and press Enter on your keyboard manually.
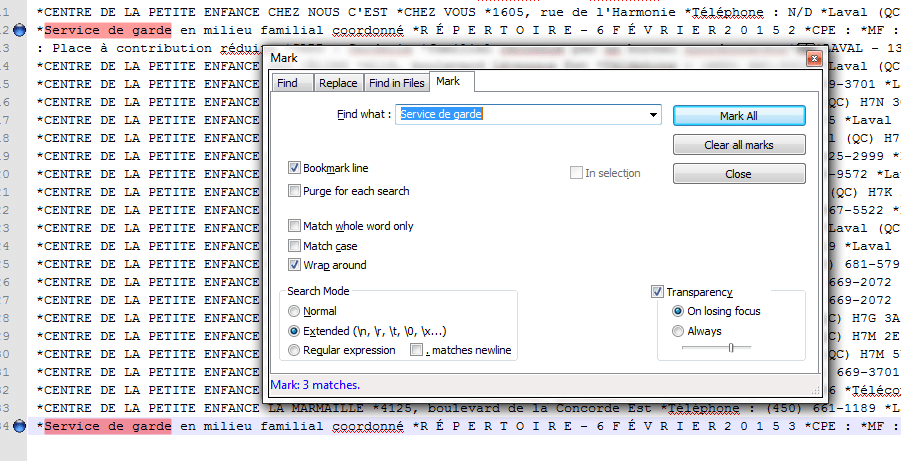
8. Remove headers & footers
- Check bookmark line
- Find lines to be deleted
- Navigate to Search > Bookmark > Remove Bookmarked Lines
9. Save text file
This step is essential to setup import export CSV records.
10. Open text file in Excel
- Data > From Text > Delimited
- Choose “other” for delimiter and input your character (* in this demo)

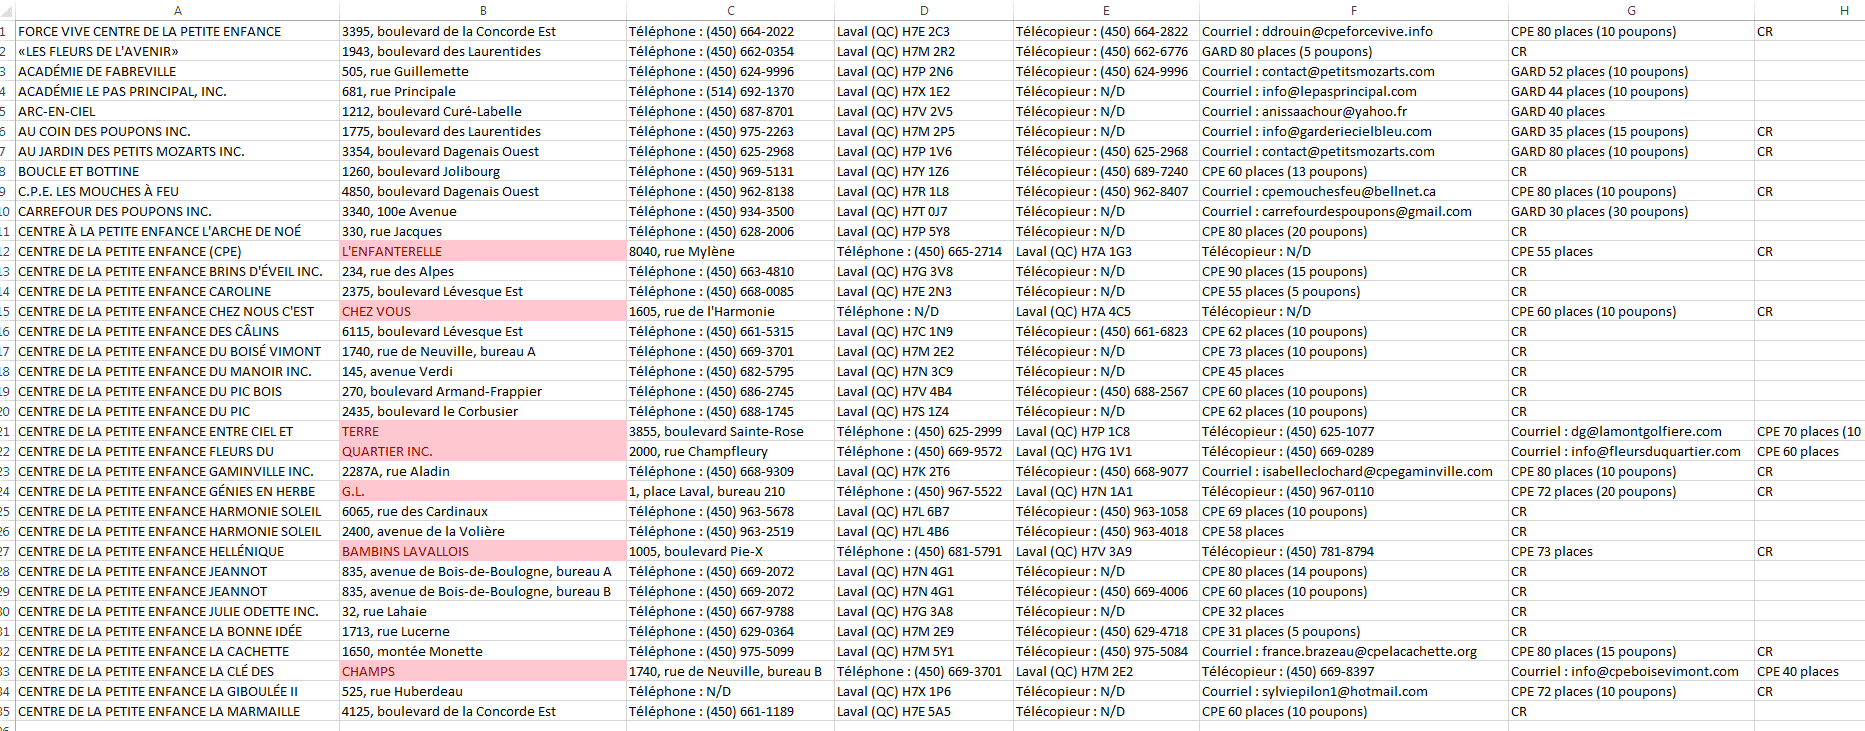
11. View the result
Notice some columns are off because the company name takes up to two lines in the pdf. This needs to be fixed.
12. Separate Zip code & City
- The address, city, and zip code entries in Netsuite are divided into different fields. We can use Excel formulas to quickly separate them.
- You can simply drag the right corner to replicate the same formula for all the entries.

13. Remove unused data
Use Find All/Replace all to remove unused data such as “Telephone:”, “Email:”, etc.

14. Save file as a CSV
And there you have it! The end result that saves time – a beautiful CSV file ready for import into NetSuite!


